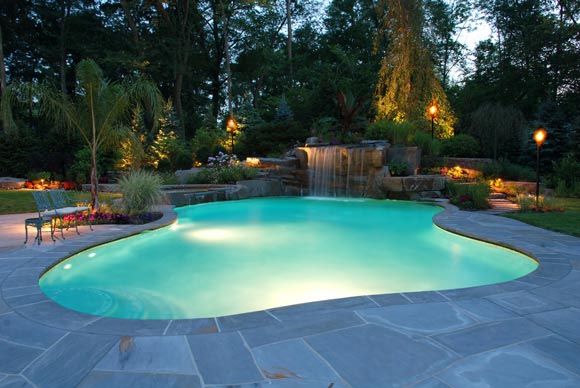
With summer fast approaching, now’s the time to get your
backyard in shape for neighborhood parties. If you’re ready to update the
lighting within your pool itself, check our great selection of
pool and spa light bulbs.
When it comes to changing out your pool or spa light bulb its not quite as easy as just replacing a bulb in a lamp at home. There's some care to be taken here, and with our step by step how to change a pool light guide below, you should be good to go!
1. Turn off electrical power to the pool lighting at the
circuit breaker. An easy thing to forget to do, but very important to do! To ensure the power is off by turning the light switch to on or using a circuit tester.
*Caution: For your safety, take all necessary precautions before working with electricity and water. If you are unsure how to work with electricity, do not attempt. Call a electrician or pool service professional.
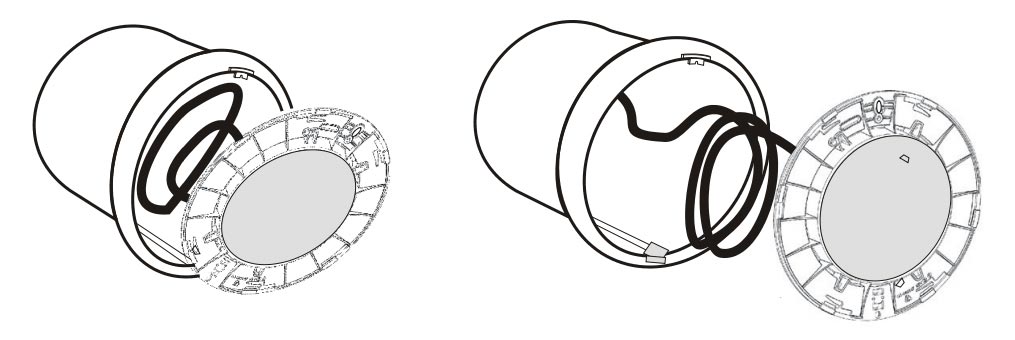
2. Next, you will remove the light housing from the niche (sometimes
referred to as the light can). Usually the light is secured with a
single screw. Once this screw is removed, you can carefully pull the
light housing from the light niche.
3. Place the light fixture on the pool deck. There should be sufficient
slack in the electrical
cord to do this. We suggest laying down a towel or something soft of the
pool deck to place the light on so you don't risk scratching or
breaking.
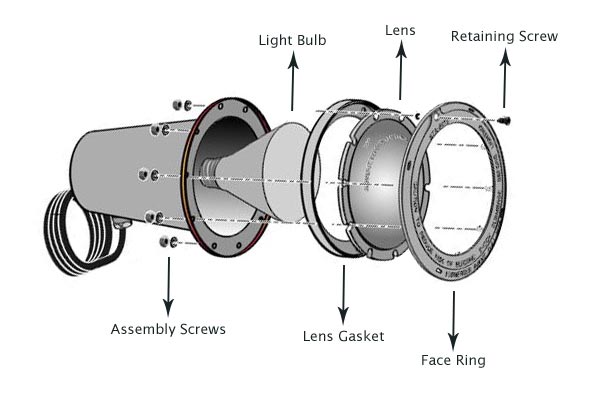
4. Remove the assembly (screws, clamps, bolts, etc.) that keeps
the face plate, gasket and lens secured firmly to the housing. Be careful and check for corrosion that might have occurred. You might have to run to your local supply store for replacement screws if there is any corrosion.
5. Remove the face ring, gasket, then lens – slowly and carefully –
and inspect it while you have the opportunity. The lens typically has a rougher
life than the bulb itself, so check for any excessive wear and tear. Be sure to...
- Inspect the grommet where the power cord enters the light for deterioration.
- Inspect the light housing and face ring for warping, dents and excessive rust.
6. Next, you can finally remove that old bulb. Once that is out, give the housing and the lens a good drying off. You should also clean off any residue on the housing. Be gentle and don't use anything abrasive to scrape it clean.
7. Now you can screw the new bulb into the socket.
8. Before you reassemble your light, turn the electricity back on to check that the light bulb does in fact work. Just a quick check, then turn the power back off. Wouldn't it be a pain if you got the light housing completely re-installed just to find the bulb wasn't working?!
9. Once you've confirmed the light does work with the new bulb, proceed by installing a new gasket. Make sure the gasket
between the bulb and lens fits evenly, reattach the lens to the assembly and
you’re ready to get back into the water.
10. Holding the assembly underwater, make sure the
gasket is doing its job by checking for any air bubbles reaching the water
surface. No big deal if there are a few bubbles, but make sure the gasket is fitting
correctly around the lens and air is not escaping from the edges. If it doesn't appear air-tight, removed the light fixture from the water and reset the lens and gasket.
11. When you’re sure you’re watertight, wrap the electrical
cord around the light housing, then replace the housing into the niche in the pool wall and re-secure
it.
12. Now you’re ready to turn the power back on and
check for escaping air one last time. Watch for about 10 minutes, and in the
unlikely event you see any bubbles you'll need to go back to square one (at
the circuit breaker!) and check the assembly again. A new gasket should solve
the problem.
The only thing left to do is enjoy the illuminated paradise you've created with your new pool lights! Wheather you're upgrading to energy efficient
LED bulbs or adding flair with new
color changing lights the work of changing out the bulbs is sure to be well worth the work!
Have questions? We're here to help! Feel free to comment below and we'll do everything we can to help you through the process!